The 9 step fitness self-evaluation was created to help individuals and athletes to gain more awareness of what and how their body is capable of moving at any given time. It will give you a snap shot of what issues you may have, where your weaknesses lie and who you should go and see.
I have also provided many examples of at home or self exercises to help reduce or eliminate any issues that may present from the screen.
Rules
As with any system there are certain rules you must abide by to ensure its success:
Pain
If there is pain in any of the movements or screens you must refer yourself out to an adequately qualified health professional. This can range from a physiotherapist, chiropractor or remedial massage therapist etc. Ensure you get help to address the issue before it becomes an injury.
Skill & Knowledge
If you do not have the necessary skill or knowledge hire someone who does. Your learning curve will be shortened drastically if you seek the help of someone who has followed this path before you. Swallow your pride and enlist the help of a professional if needed.
Be Subjective
The fitness self-evaluation is purely that, a screen. It is designed to highlight any issues you may have or green light you to continue training. Systems such as the Functional Movement evaluation will have a more in depth and advanced approach that you may require. See rule #2 for seeking the help of a professional.
There are 3 sections to the screen:
Honesty,
Clearing and;
Movement & Strength.
After you have gone through the three sections of the evaluation you will then be able to classify where you sit in our performance continuum and get an idea of where you need to start.
The Fitness Self-Evaluation Tips
Through out the fitness self-evaluation, there will be tips on where to allocate training time however here is a summary of what each tier will mean:
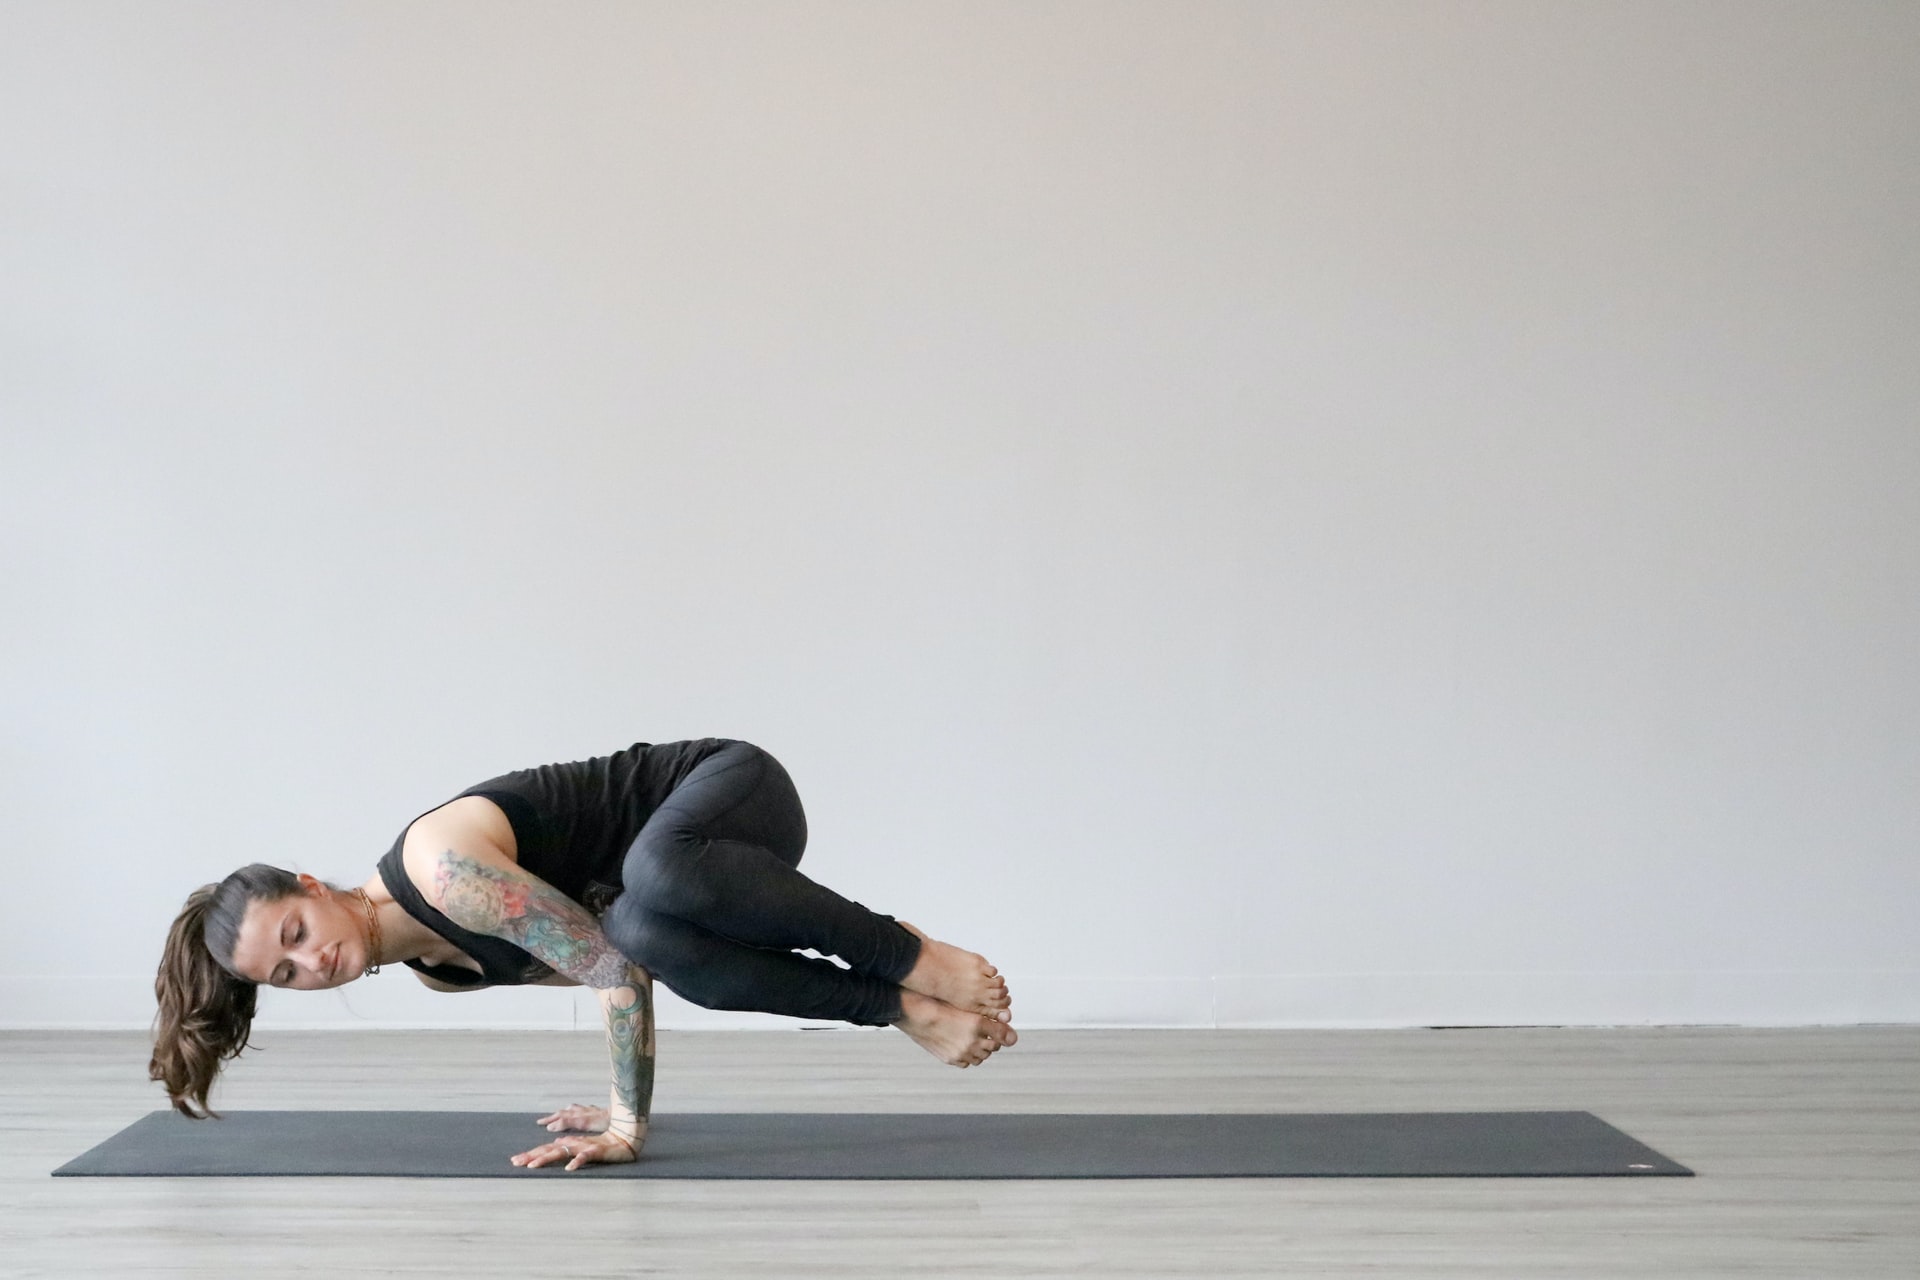
Movement – This category allocates most of your time to things like mobility and weight loss. With out efficient movement you will really notice your poor performance in strength and performance. This doesn’t mean you avoid these two categories however allow more time to work on efficient movement patterns at low weight and high repetitions, mobility and getting your nutrition and lifestyle in check.
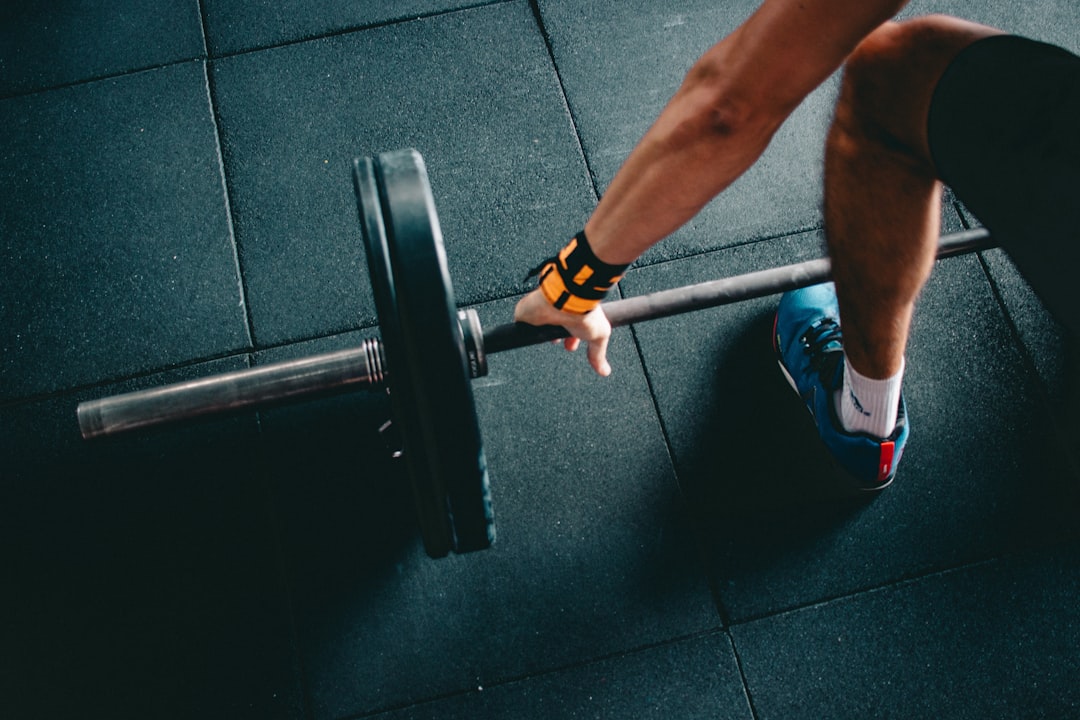
Strength – Once you have efficient movement you can then add the strength element. This can be done concurrently while you are improving movement however keep the weights low and easy to handle. You should be able to enjoy this phase, as it should not be too taxing and repeatable day after day. Pushing your boundaries in strength will also help you progress into the performance portion of the continuum, which covers off on power, conditioning and sports specific skills.
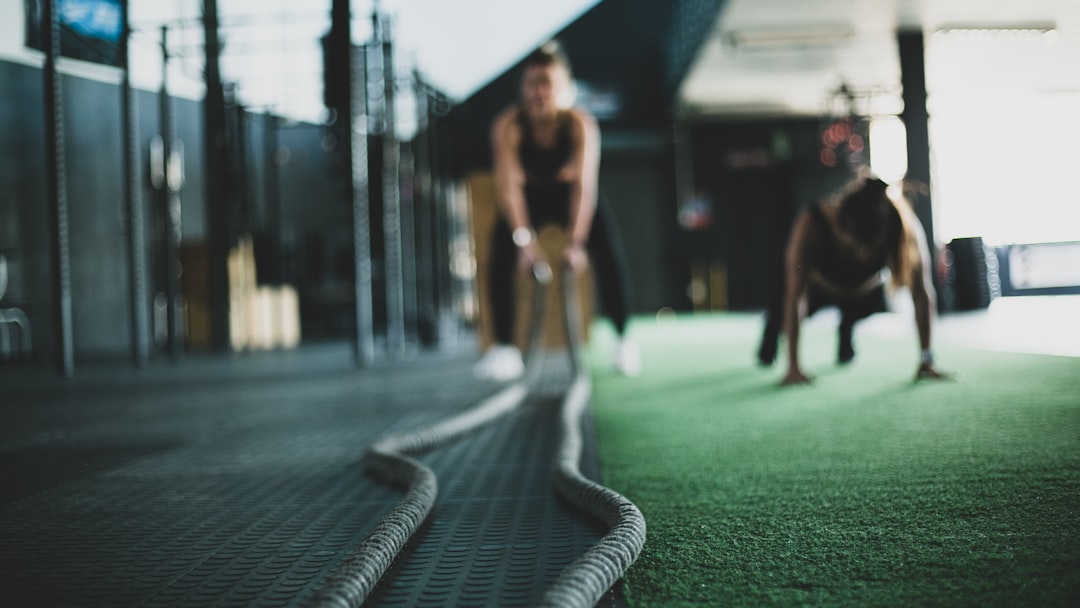
Performance – This element of training allows you to progress to a clearly defined goal. Whether it is powerlifting, contact sports (boxing, rugby etc.), endurance running/triathlon or even bodybuilding. Your goals will have a specific focus to narrow your training approach. Elements of training in here include:
Event Specific Endurance & Conditioning
Speed & Power Development
Sports specific skills (agility etc.)
All training should be focused and non-essential elements cut from programming during a performance related goal. As you can see the base of work should be focused on movement, which includes skill practice at a base level and the addition of strength, to assist in transition to a performance related goal. A broad base will allow you to focus on a narrow goal.
Section 1 – Honesty
This fitness self-evaluation section contains one element. Before adventuring into some great new workout or program you need to ask yourself the simple question of, is my body ready for it? Carrying excess weight is a sure way to make your movements inefficient and sometimes dangerous.
The first point of call should always be addressing lifestyle factors such as weight and nutrition as you cannot out train poor versions of these.
evaluation #1 – Waist/Hip Ratio
The waist/hip ratio is designed to identify individuals with high levels of visceral fat. Visceral fat around organs puts an individual at higher risk of lifestyle diseases such as diabetes and heart attack or stroke. We are aim for the following measurements:
Men = or <0.9
Women = or <0.8
By simply dividing your waist measurement by your hip measurement you will be able to allocate your waist/hip ratio. Anything greater than these measurements calls for you to deal with your nutrition and lifestyle factors as well as adapting your training program to suit.
The good news is that you do not have to stop training. Keep your movements and exercises simple with minimal technique and make them as inefficient as possible. A simple brisk walk and a well balanced diet will do wonders. Loaded carries and bodyweight training also fit well here. For women with an hourglass body shape, be honest with yourself if a few kg’s need to be shed as your waist hip ratio may not represent an accurate result.
Failing this evaluation automatically puts you into the Movement category on our performance continuum.
Section 2 – Clearing
This section of the fitness self-evaluation will allow you to assess certain areas for pain. Failing any of these screens will focus your training in the movement section of the continuum followed by strength when you have reached an acceptable level of performance in the screen.
This might also mean that you may need to visit and allied health professional to rectify these issues if pain is present.
evaluation #2 – Upward/Downward Dog/Child’s Pose
The simple result of this evaluation is pain or no pain. Two of these are clearing tests used during the Functional Movement evaluation and all three will help identify any issues with the lower back or shoulders.
Once you have noted pain or no pain you can then take further action. Remember Rule #1, if there is pain in any movement be sure to seek help and advice from an adequately qualified professional.
evaluation #3 – Shoulder Clearing Exam
This evaluation is much like evaluation #2 being a evaluation to identify pain. The results are once again pain or no pain. These three screens will allow you to isolate certain areas of the shoulder girdle being cervical, AC joint & thoracic.
The shoulders are an incredibly complex area so be sure to get the help of an adequately qualified professional particularly if you have had recurrent issues in the past.
Section 3 – Movement & Strength
Section three of this fitness self-evaluation deals with mobility and strength issues. Once you have passed sections 1 & 2 the next stage of the evaluation is to determine how well you move and if any obvious mobility or strength issues are present.
Failing any screens in this category pushes your focus into the movement and strength sections of the continuum. If you pass all of the screens #1 through to #9 you then have a good appreciation of your body being ready to add a performance related goal into training.
evaluation #4 – Ankle Mobility
The ankle mobility evaluation is a simple yet effective way to see how we will perform during squatting and other activities like running. Poor ankle mobility will restrict other joints and movement patterns.
As we progress through life we often take moving for granted, however being the first major joint in the legs to come in contact with force (the ground etc.) the ankles are often a point of concern and starting point to address injuries and issues presenting during exercise.
The aim or standards for ankle mobility shown in the evaluation are:
Dorsiflexion:
<2inch Fail
2-4inch Acceptable
4inch+ Optimal
Plantar flexion:
20-30 degrees Acceptable
30 degrees+ Optimal
evaluation #5 – 2 minute Push-up Plank
The two-minute push-up plank has been around for years. Static or isometric strength in the plank is essential as most movements involve bracing of the midsection to ensure a neutral or correct spinal position. All attempts should be made to maintain a fair amount of tension throughout the two minute time period as with the hardstyle plank.
Failing to achieve the two minutes would indicate issues with your core or midsection stability. Positioning is also key when conducting your plank, be sure to maintain a neutral spine through out.
evaluation #6 – Get Down & Up
This evaluation I borrowed from Dan John. The ability to get down and up from the floor is an essential tool for preparing against falls and day-to-day mishaps. This get down evaluation has been simplified and has been graded from 0 to 3:
3 – Being able to get down and up with no use of the knees or hands,
2 – Being able to get down and up with the use of either a knee or hand,
1 – Being able to get down and up with the use of both hands or knees,
0 – Not being able to complete either or both movements.
Passing this evaluation with a three indicates you have the mobility, strength and motor control to solve a relatively simple task. Failure of these would indicate problems that you would need to seek the professional help of a coach or trainer.
evaluation #7 – One-foot Balance
The one-foot balance fitness self-evaluation is another great tool borrowed from Dan. The standard of the balance test is simple, balance on a single foot for 10-20 seconds. Then repeat on the other side.
This evaluation is so elementary however can highlight health concerns and issues particularly neurological or middle ear issues. It is also important to take notice of performance on either leg and this can also lead to other avenues to address.
If you fail this test, go and see a doctor for a full health examination.
evaluation #8 – Toe Touch
The toe touch is one of my favourite screens as it can highlight several issues and can be used in two methods of identifying mobility or motor control issues as seen in the Functional Movement Screen:
Loaded/Unloaded
Unilateral/Bilateral
This evaluation can help identify mobility issues with the glutes or hamstring, motor control issues in the hips and posterior chain and also starts to show the fundamental weight shift ability required in the squat and deadlift.
Not being able to touch your toes would indicate in issue. Go through the breakouts to help point you in the right direction however seeking help from a coach or trainer would be the best option.
evaluation #9 – Overhead Squat
This last fitness self-evaluation culminates the skills required from all of the previous eight screens. The overhead squat evaluation is borrowed from the Functional Movement evaluation system, as it is the final and last evaluation that is dealt with during the FMS. Providing you pass all eight other screens you will then be able to test the overhead squat.
The overhead squat places large demands on movement coordination, mobility and strength from the ankles, hips and shoulders. This closed chain movement is the pinnacle of movement in terms of being able to lift a weight overhead and then squat with it leading to training such as Olympic lifting, which is some sports, is essential for development.
Failing this test could mean numerous things, being screened by an FMS instructor would be the next point of call.
Summary
Once you have completed your fitness self-evaluation you will have a fair idea where to head from here. Keep the three rules in mind and use the information provided to make smart decisions for training. The videos provided are merely the tip of the iceberg when it comes to moving well.
Remember, if in doubt refer yourself out to someone that has the expertise to help guide you. There is no point screening yourself if you are not going to act accordingly once you have the results.